
To rename labels in WooCommerce, you can use a plugin like “Say What” or add custom code to your theme’s functions.php file. Here are the steps to do this using the Say What plugin:
- Install and activate the “Say What” plugin from the WordPress plugin repository.
- Go to Tools > Text changes in your WordPress dashboard.
- Click on the “Add New” button to create a new text change.
- In the “Original String” field, enter the label you want to rename. For example, if you want to rename the “Add to Cart” button to “Buy Now”, enter “Add to Cart” in this field.
- In the “Text Domain” field, enter “woocommerce” (without the quotes).
- In the “Text Context” field, enter “woocommerce” (without the quotes).
- In the “Replacement String” field, enter the new label you want to use. For example, if you want to rename “Add to Cart” to “Buy Now”, enter “Buy Now” in this field.
- Click the “Save Changes” button to save your text change.
Once you’ve completed these steps, the label you renamed should now appear throughout your WooCommerce store with the new label you specified.
Note that if you prefer to use custom code instead of a plugin, you can use the gettext filter to replace the original text with your new label. Here’s an example:
function rename_add_to_cart_button( $translated_text, $text, $domain ) {
    if ( $text === 'Add to cart' && $domain === 'woocommerce' ) {
        $translated_text = 'Buy Now';
    }
    return $translated_text;
}
add_filter( 'gettext', 'rename_add_to_cart_button', 20, 3 );
You can add this code to your theme’s functions.php file or a custom plugin file to rename the label. But before all changes do your backup ready for any error first.

About the Author
Manish love to write for people and he is a Civil Servant. Users can follow Manish on Instagram ![]()

Who is Tulsi Gowda known as Encyclopedia of Forests
When Tulsi Gowda received Padma Shri, social media was full of praise for her. Indian President Ram…

Can you speed up your metabolism ?
We are unable to control metabolism because it is largely influenced by our thyroid gland’s…
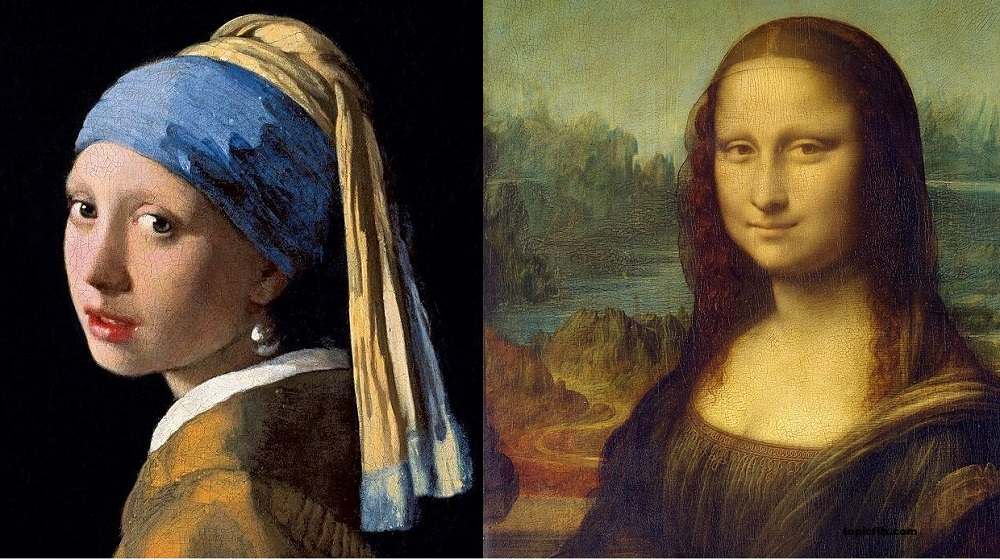
Why is “The Girl with the Pearl Earring” a mystery, like the Mona Lisa?
“Girl with a Pearl Earring” appears to be from a simple peasant family. Her look…

14 SIMPLE RULES OF A STABLE AND BEAUTIFUL MARRIED LIFE
A stable married life is like a big ship in the ocean. There are so…

Cool ! Wrinkles story: Because 14 Facial Wrinkles Tell your story ?
Facial wrinkles tell you Wrinkles do not only appear as a sign of age. It…

Who is Ahmed Ali ?
Ahmed Ali is a famous celebrity fashion designer based in Delhi. Ahmed Ali started out…